Hardwood vs Softwood Identification: Grain, Pores, and End-Grain Checks
Use grain, pores, rays, resin canals, color, and end-grain photos to separate hardwoods from softwoods before scanning wood with Wudora.
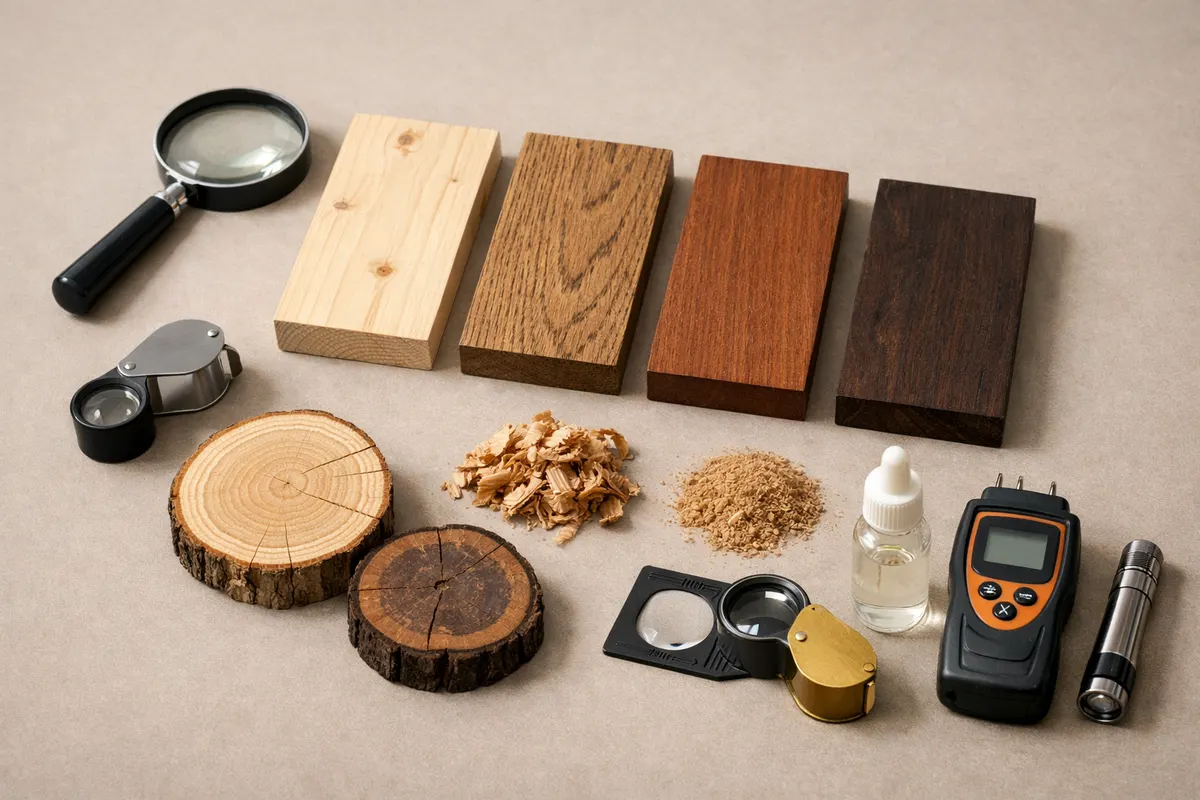
Quick answer for hardwood vs softwood identification
Hardwood vs softwood identification starts with anatomy, not just hardness. Hardwoods usually come from broadleaf trees and often show visible pores in the end grain. Softwoods usually come from conifers and often show growth rings, resin canals, knots, and a more uniform structure rather than open pores.
A clear face-grain photo can suggest a direction, but end-grain is the better clue. Ring-porous hardwoods such as oak and ash show large earlywood pores in bands, diffuse-porous hardwoods such as maple and birch show smaller pores spread more evenly, and many softwoods show resin canals or strong latewood bands instead of pores.
Use this comparison as a first pass before asking the app for candidate matches. If the wood affects restoration, sale value, safety, allergy risk, or protected-species questions, keep the result provisional and verify with a wood specialist or lab.
- Look for pores first: visible pores usually point toward hardwood.
- Look for resin canals and knot structure: those often point toward softwood.
- Use end-grain photos whenever possible because stained face grain can mislead.
What hardwood vs softwood really means
Hardwood and softwood are botanical groups, not simple hardness labels. Balsa is a hardwood even though it is light and soft. Yew and some dense pines are softwoods even though they can feel hard in use. That is why visual checks should focus on cell structure and growth features rather than touch alone.
For photo-based work, the goal is usually to narrow the sample into a useful group: hardwood likely, softwood likely, or uncertain. That first split helps you choose better follow-up checks, compare against the right reference images, and avoid chasing impossible species matches from one finished surface.
Commercial names add another layer of confusion. A flooring label, furniture listing, or reclaimed board description may use trade names rather than exact species. Record the context, but let visible structure carry more weight than a label or seller description.
- Hardwood: broadleaf tree group; often visible pores in end grain.
- Softwood: conifer group; often resin canals, strong growth bands, or knot patterns.
- Uncertain: finished, stained, veneered, painted, or too small to show end-grain detail.
Key clues to compare
Use these clues together before running an app or asking an expert. One clue can be misleading, especially if the board is stained, aged, veneered, or photographed under warm indoor light.
Collect consistent photos: one face view, one close-up of grain, one clean end-grain shot, and one context shot showing scale, finish, hardware, or joinery.
- Pores: open pores in end grain usually indicate hardwood. Large earlywood pores in bands point toward ring-porous woods such as oak or ash.
- Diffuse pores: small, evenly spread pores suggest hardwoods such as maple, birch, poplar, or beech rather than softwood.
- Resin canals: tiny resin channels, pitch pockets, or strong resin smell often point toward softwoods such as pine, spruce, fir, or larch.
- Rays and flecks: broad medullary rays, especially on quarter-sawn faces, are strong hardwood clues and are especially prominent in oak.
- Growth rings: strong latewood bands can appear in both groups, but softwoods often show sharper earlywood-to-latewood contrast without open pores.
- Knots and branch pattern: frequent knots and resin-rich areas often suggest construction softwoods, though knots alone are not proof.
- Color and sapwood contrast: heartwood and sapwood can help after the hardwood/softwood split, but stain and age can change color dramatically.
- Weight and hardness: useful as context, not proof. Some hardwoods are light, and some softwoods are dense.
Step-by-step comparison workflow
1) Photograph the wood in neutral daylight. Capture the face grain, a close-up, the end grain, and the object context. A ruler or coin helps show pore and ring scale.
2) Decide whether pores are visible. If yes, start with hardwood references and note whether pores are ring-porous, diffuse-porous, or semi-ring-porous. If no, check for resin canals, pitch pockets, and conifer-like ring structure.
3) Add secondary clues: rays, sapwood contrast, figure, knots, density, smell, and likely use. Do not let color alone decide the match because finish, stain, and oxidation can shift color.
4) Scan the photo set with Wood Identifier - Wudora after you have written down your own observations. Compare app suggestions against the clues you collected instead of accepting the first match blindly.
5) Verify high-stakes decisions. Restoration, sale, allergy, legal, or protected-species questions may need microscopy, a physical sample, or a professional wood anatomy reference.
- Start broad: hardwood, softwood, or uncertain.
- Then narrow: ring-porous, diffuse-porous, resinous softwood, or finished/veneered unknown.
- Only after that compare likely species or trade names.
Practical comparison examples
Oak-like chair rail: The face grain shows ray flecks and the end grain shows large pores arranged in annual bands. That combination points toward a ring-porous hardwood, with oak or ash as better candidates than pine or fir.
Pine-like board: The board has strong growth bands, frequent knots, and small resin pockets, but no open pores in the end grain. Those clues fit a softwood direction before you compare specific pine, spruce, fir, or larch references.
Maple-like tabletop: The grain is fine and even, the end-grain pores are small and diffuse, and there are no resin canals. That suggests a diffuse-porous hardwood group, so compare maple, birch, beech, and poplar references rather than broad softwood examples.
Weathered reclaimed plank: Color and surface texture are unreliable because age and exposure have changed the face. A clean cut end with visible pores or resin canals will be more useful than the gray weathered surface.
- Use examples to separate groups first, then species.
- If the clues conflict, mark the result uncertain and collect a cleaner end-grain photo.
Limitations
The hardwood/softwood split is useful, but it is not a final species identification. One finished face photo can hide pores, rays, resin canals, or veneer edges. Stain, oxidation, lighting, and camera sharpening can also change what the grain appears to show.
High-confidence group matches are possible when the end grain is clear and several clues agree. Partial confidence is more common: for example, a sample may look like a ring-porous hardwood without enough evidence to separate oak, ash, elm, or chestnut.
When to verify beyond photos: get a professional opinion if health or safety depend on the wood, if the sample may be protected or restricted, if allergies are a concern, or if the item has significant monetary value. Verification may require microscopy or a physical sample.
Safety and trust: do not infer toxicity, treatment chemicals, structural safety, or protected-species status from photos alone. Use the app and this checklist as a first pass, not as legal or safety proof.
- Photo-only: useful for grouping and next checks.
- End-grain plus context: better for narrowing candidates.
- Microscopy or expert review: needed for high-stakes confirmation.
Related guides
Compare your wood photos with Wudora
After you’ve checked pores, rays, resin canals, grain, and end-grain, scan the photo set with Wood Identifier - Wudora for a provisional match list. Use the suggestions as research notes, then verify high-stakes species, safety, or value questions with an expert.

Frequently asked questions
Can I tell hardwood from softwood in a photo?
Often, yes, if the photo includes a clear end-grain view. Visible pores usually point toward hardwood, while resin canals, pitch pockets, and conifer-like growth bands often point toward softwood. A finished face-grain photo alone is less reliable.
What is the best clue for hardwood vs softwood identification?
End grain is usually the strongest photo clue because it shows pores, rays, growth rings, and resin canals more clearly than the finished face of a board. Take a close, well-lit end-grain photo with a ruler or coin for scale.
Does hardwood mean the wood is actually harder?
Not always. Hardwood and softwood are botanical groups, not direct hardness ratings. Some hardwoods are soft and light, while some softwoods are dense. Use anatomy and end-grain clues before judging by feel.
When should I consult an expert or lab?
Consult a professional if the wood identity affects safety, allergies, legal status, provenance, or monetary value. Experts can use microscopy and reference collections to reach higher-confidence identifications beyond what photos can provide.